
How to Make Your Own Liquid Chalk
Liquid chalk is a pretty simple product: it’s just alcohol and magnesium carbonate mixed together. It’s pretty easy to make your own liquid chalk in the kitchen. The chalk you will get when you follow this method will feel pretty much the same as commercial-grade liquid chalk with one big caveat: it will not last as long since there is no emulsifier. Adding the extra ingredients that make commercial-grade liquid chalk last longer is hard to do in your own kitchen because the amounts required are so minute (far less than 1%) that they are hard to measure in a DIY setup. It’s best to make this chalk either on the day of your climb or a couple days in advance. This chalk is going to last maybe a week, but certainly not months.
You need just two ingredients: isopropyl-70 alcohol and magnesium carbonate. You want to use a fine grind of magnesium carbonate either by grinding it yourself or buying pre-ground chalk. Using chalky chunk works, but just makes the stirring process more cumbersome. Some people actually like their liquid chalk to be a little chunky, so you may experiment a bit here. For the alcohol make sure you buy isopropyl-70 alcohol, also called rubbing alcohol. You can also dilute down pure ethanol with a little water to bring it from 96% purity to 70%. You can try higher or lower purity alcohol than 70, but 70 works fine & is easily available commercially. Higher percentage alcohol will make your chalk more liquid and will evaporate faster, but won’t last as long as isopropyl-70.
The proportion chalk-to-alcohol should be roughly 2:1. That is, for every cup of chalk, you add you want to add 1 cup of alcohol. I like to put the chalk in a cup first and slowly add the alcohol, stirring with a spoon or chopstick. I keep adding alcohol until I am happy with the consistency. I actually don’t really measure the amount of alcohol I pour in, just eyeballing it visually until I am happy with the thickness. You really want to stir it very well though. Under-stirred liquid chalk feels crunchy on your fingers in a bad way.
The viscosity you are aiming for depends on personal preference. Very liquid chalk will tend to dry faster on your hands, but also in the bottle, meaning you really want to make super-liquid chalk on the same day you climb. I prefer creamier chalk because it is easier to apply, lasts longer in the bottle, simply feels better and is a whole lot less messy.
Once you’re done stirring and have achieved the viscosity you want, you will want to put it in a small container. Travel-sized plastic squirt bottles work well for liquid chalk. Small aluminium jars or aluminium squeeze tubes work great for creamy chalk. Key is to find something that is completely air-tight. Make sure you fill your container all the way to the top: it will help prevent drying out.
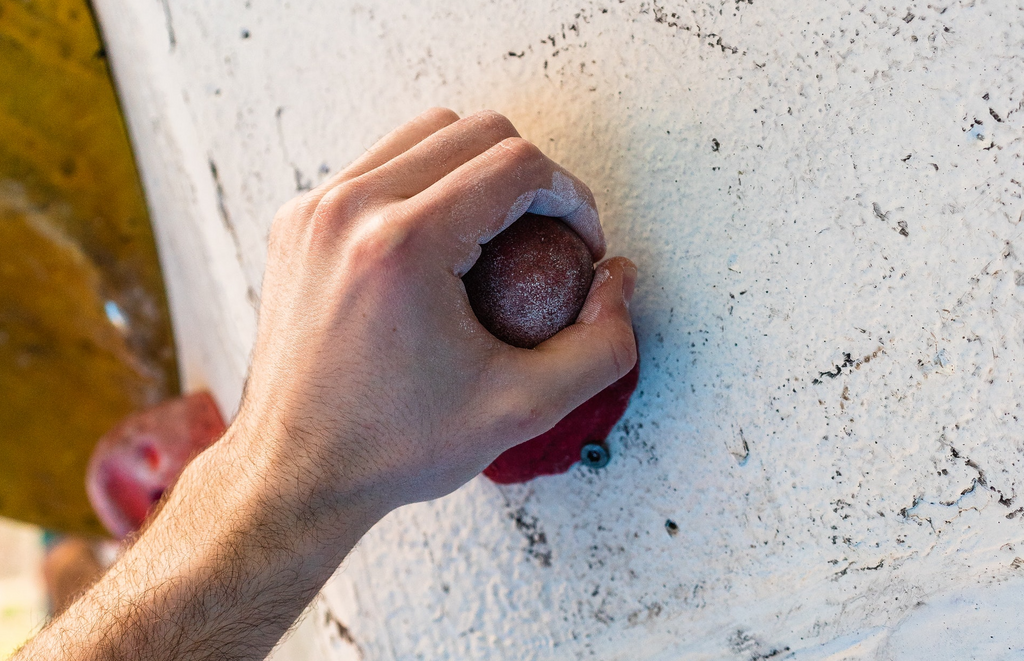
Photo by Enric Cruz López